radiosity without conventional lighting
This is the second part of my radiosity tutorial, it introduces radiosity without conventional lighting. I suggest reading the first part before this one.
You can also leave out all light sources and have pure radiosity lighting. The situation then is similar to a cloudy day outside, when the light comes from no specific direction but from the whole sky.
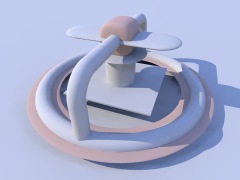
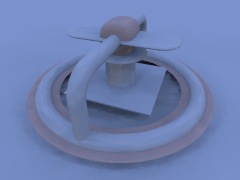
The following 2 pictures show what changes with the scene used in part 1,
when the light source is removed. (default radiosity, but
"recursion_limit 1"
and "error_bound 0.2")
| with light source | without light source |
|---|---|
|
|
You can see that when the light source is removed the whole picture becomes very blue, because the scene is illuminated by a blue sky, while on a cloudy day, the color of the sky should be somewhere between grey and white.
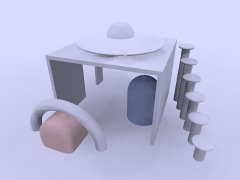
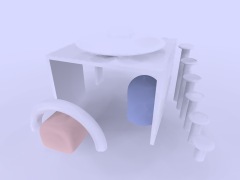
The following pictures show the sample scene used in this part with different
settings for "recursion_limit" (everything else
default settings).
| recursion_limit 1 (settings) | recursion_limit 2 (settings) | recursion_limit 3 (settings) |
|---|---|---|
 |
 |
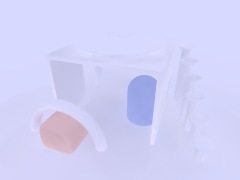 |
This looks much worse than in the first part, because the default settings are mainly selected for use with conventional light sources.
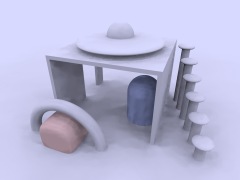
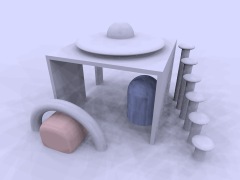
The next three pictures show the effect of "error_bound".
("recursion_limit" is 1 here) Without light sources,
this is even more important than with, good values much depend on the scenery and the
other settings, lower values do not necessarily lead to better results.
| error_bound 1.8 (settings) | error_bound 0.4 (settings) | error_bound 0.02 (settings) |
|---|---|---|

|
|
|
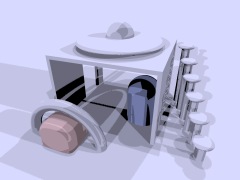
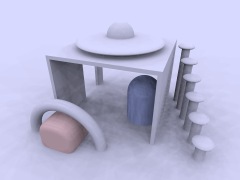
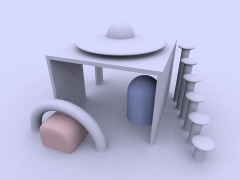
If there are artefacts it often helps to increase
"count", it does affect quality in
general and often helps removing them (the following three pictures use
"error_bound 0.02").
| count 2 (settings) | count 50 (settings) | count 200 (settings) |
|---|---|---|
|
|
|
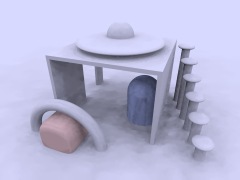
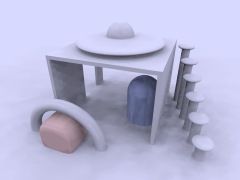
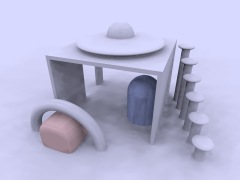
The next sequence shows the effect of "nearest_count",
the difference is not very strong, but larger values always lead to better results
(maximum is 10). From now on all the pictures use
"error_bound 0.2"
| nearest_count 2 (settings) | nearest_count 5 (settings) | nearest_count 10 (settings) |
|---|---|---|
|
|
|
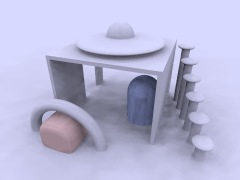
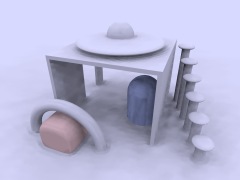
The "minimum_reuse" is a geometric value related
to the size of the render in pixel and affects whether previous radiosity calculations are
reused at a new point. Lower values lead to more often and therefore more accurate
calculations.
| minimum_reuse 0.001 (settings) | minimum_reuse 0.015 (settings) | minimum_reuse 0.1 (settings) |
|---|---|---|
|

|
|
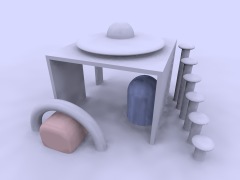
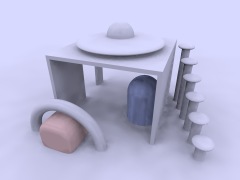
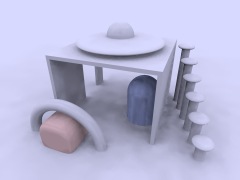
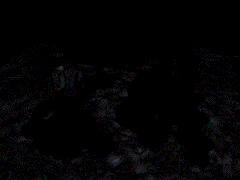
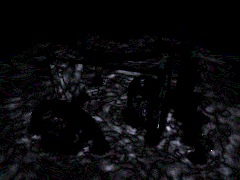
In most cases it is not necessary to change the
"low_error_factor". This factor reduces the
"error_bound" value during the final
pretrace step. "pretrace_end" was lowered to
0.01 in these pictures, the second line shows the difference
to default. Changing this value can sometimes help to remove persistent artefacts.
| low_error_factor 0.01 (settings) | low_error_factor 0.5 (settings) | low_error_factor 1.0 (settings) |
|---|---|---|
|
|
|
|
|
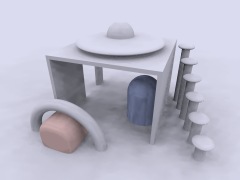
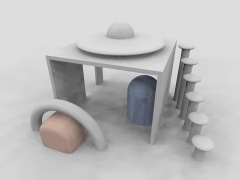
"gray_threshold" reduces the color in the
radiosity calculations. As mentioned above the blue sky affects the color of the
whole scene when radiosity is calculated. To reduce this coloring effect without
affecting radiosity in general you can increase
"gray_threshold". 1.0 means no color in
radiosity at all.
| gray_threshold 0.0 (settings) | gray_threshold 0.5 (settings) | gray_threshold 1.0 (settings) |
|---|---|---|

|
|
|
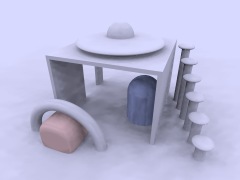
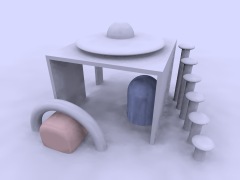
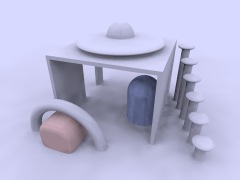
Another important parameter is "pretrace_end".
Together with pretrace_start it specifies the pretrace steps that are done. Lower values
lead to more pretrace steps and more accurate results but also to significantly slower
rendering.
| pretrace_end 0.2 (settings) | pretrace_end 0.02 (settings) | pretrace_end 0.004 (settings) |
|---|---|---|
|
|
|
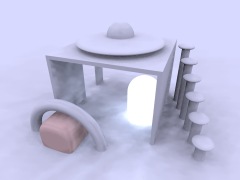
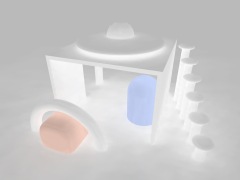
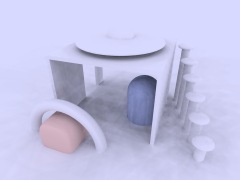
It's worth experimenting with the things affecting radiosity to get some feeling for how things work. The next 3 images show some more experiments.
| ambient 3 instead of ambient 0 for one object | ambient 0.5 instead of ambient 0 for all objects sky: ambient 0 |
error_bound 0.04 recursion_limit 2 |
|---|---|---|
|
|
|
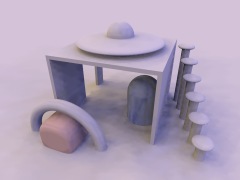
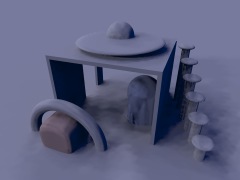
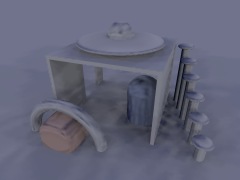
Finally you can strongly change the appearance of the whole scene with the sky's texture. The following pictures give some example.
| yellow-blue gradient from left to right | light-dark gradient from left to right | light-dark gradient from bottom to top |
|---|---|---|
|
|
|
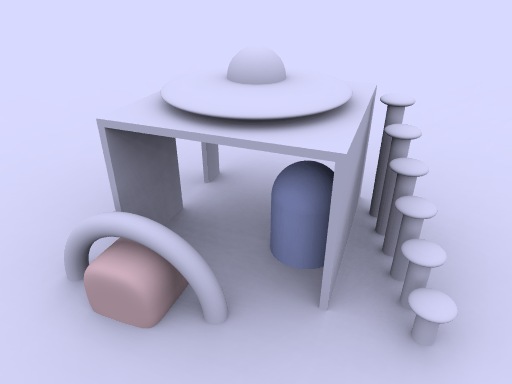
Really good results much depend on the single situation and how the scene is meant to look. Here is some "higher quality" render of this particular scene, but requirements can be much different in other situations.
|
global_settings { |
|
That's it for now, maybe i will add samples for some other radiosity parameters later.
If you have any suggestions for improvements or find errors, feel free to contact me.
Christoph Hormann October 24 - November 17, 2000


