Realistic water with POV-Ray - reflection
This part deals with the reflection parameters, for the other parts of the tutorial go to the tutorial starting page.
An important property of Water is it's specular reflectivity. In POV-Ray this is
generally implemented like in any other raytracer, Have a look at a
![]() description of the algorithm for technical details.
In Megapov and POV-Ray 3.5 there are a lot of new options for improving realism of reflection.
Syntax differs between these two versions so for Megapov you will have to do some
modifications to the samples.
description of the algorithm for technical details.
In Megapov and POV-Ray 3.5 there are a lot of new options for improving realism of reflection.
Syntax differs between these two versions so for Megapov you will have to do some
modifications to the samples.
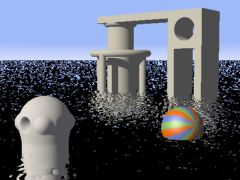
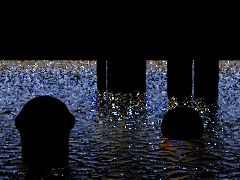
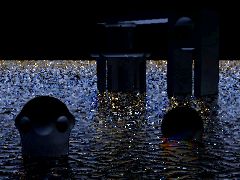
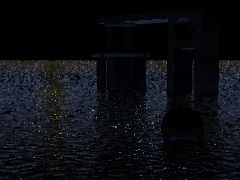
With no reflection at all the surface looks fairly unrealistic, The water appears nearly totally black, because the black plane below is visible through the transparent surface. The grainy structures near the horizon result from refracted rays that leave the surface again although there is no reflection.
|
|
|
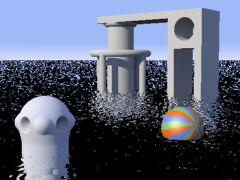
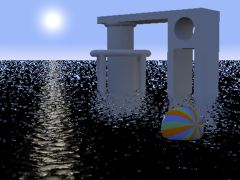
As in POV-Ray 3.1 and before you can still use
reflection [Value]
to specify a constant reflectivity of the water surface.
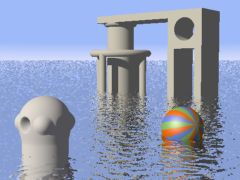
|
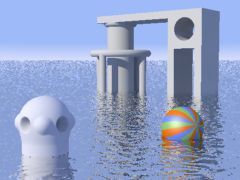
|
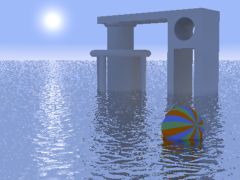
|
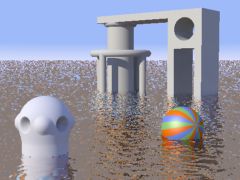
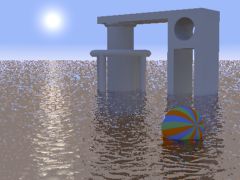
In fact the reflection value is not a value but a color vector.
By using different values for the red/green/blue components you can tint the reflection in any color:
reflection <0.7, 0.4, 0.2>
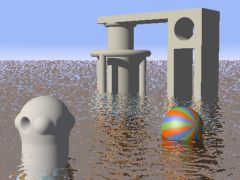
|
|
|
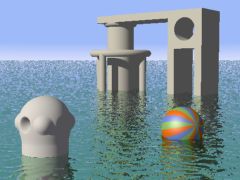
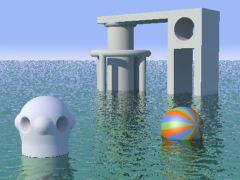
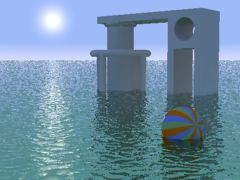
Alternatively you can use the new metallic keyword to
use the pigment's color for this purpose:
reflection {
0.7
metallic
}
|
|
|
This is usually not very useful for water surfaces, but it's added here for completeness.
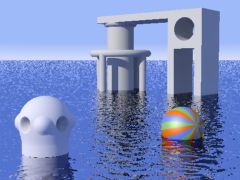
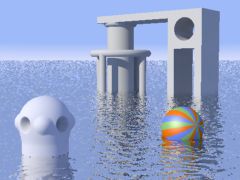
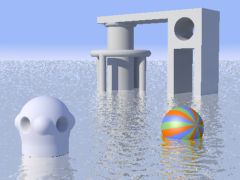
There is an additional reflection option in POV-Ray 3.1 called
exponent. It creates non-linear reflection, meaning the
reflection intensity depends on the brightness of the reflected surface. Note that this
feature has no physical background but is simply intended for artistic usage.
reflection {
0.7
exponent [Value]
}
| exponent 0.5 | exponent 1 (default) | exponent 2 |
|---|---|---|
|
|
|
All the previous samples in this section use a constant reflectivity. In fact this is far from being realistic.
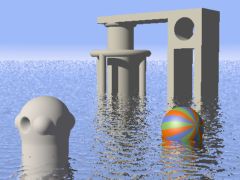
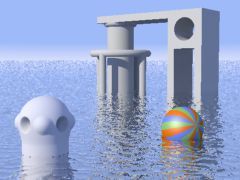
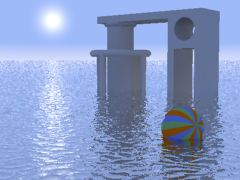
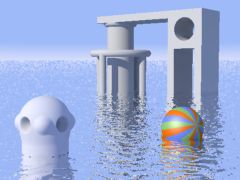
A very useful addition in Megapov and POV-Ray 3.5 is variable reflection. This represents real life more closely since the reflectivity of a water surface depends on the angle you look at it. Variable reflection is activated by simply adding a second value in the reflection block. The first value is the minimum reflection (occurring when the ray hits the surface at a right angle) and the second value is the maximum.
reflection {
0.0, 1.0
}
|
|
|
|
|
|
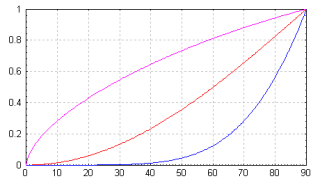
The difference to constant reflection is not strongly visible since the camera angle is quite
narrow so all rays hit the surface at similar angles. Furthermore the reflectivity changes
linearly between minimum and maximum value according to the cosine of the angle as indicated
by the red line in the chart on the right. The function used for the transit between
minimum and maximum can be influenced with the falloff value.
The formula for calculating the reflectivity is
reflectivity=minimum + (1-cos(Angle))falloff × (maximum-minimum)
The blue curve in the chart shows the behavior with falloff 3,
the magenta curve is falloff 0.3.
reflection {
0.0, 1.0
falloff [Value]
}
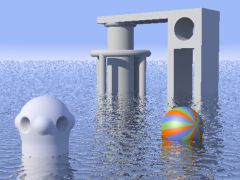
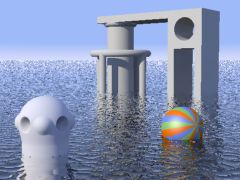
| falloff 0.1 | falloff 2 | falloff 5 |
|---|---|---|
|
|
|
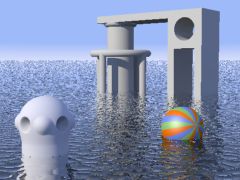
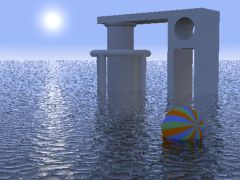
With variable reflection and changeable falloff exponent we have a lot of possibilities for influencing the appearance of the water, but this is still not quite realistic. In fact the reflection characteristic depends on the optical properties of the material, namely the index of refraction. Povray offers this more accurate reflection model called fresnel reflection too. For the mathematical background you can find some resources in the links section
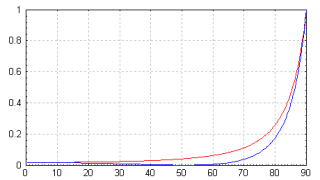
The chart on the right shows the reflectivity curve for a typical water ior of 1.3. The two curves are the separate functions for the two directions of polarization.
Note that the minimum reflectivity (when looking at right angle on the surface) is about 2% but this can usually be neglected.
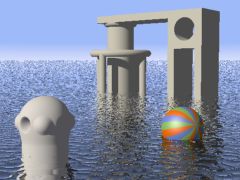
The fresnel reflection calculation is activated by adding
fresnel on to the reflection block.
reflection {
0.0, 1.0
fresnel on
}
|
|
|
Note that all this only calculates the reflection visible when you look at the water surface. Light effects on other objects because of indirect illumination can only be simulated with photons.
I already mentioned the index of refraction in the last paragraph, this and other
aspects of the interior will be handled in the next part.


